Ginseng Chicken Soup
Well friends, I have dug into the past and not only pulled up the recipe with a video that was made in the early days of what was then 'RealLife'. This is one of those moments when the archives tell a story…. yep, different hair (much darker) and a few years younger… Oh well, hope you enjoy, and I hope that this soup soothes the souls, hearts and sniffles or simply aches and pains that may happen in your home. This has definitely become one of our 'go-to' foods when life feels tough. I hope you enjoy. It has served our family well for years and is definitely one to share. Let us know how it goes.
Ingredients
1 Chicken (I use a regular organic chicken)
1/2 cup Glutinous Rice (or simply normal cooked rice… you can use brown rice if you like)
10-20 cloves of Garlic
6 Jujubes (Red Dates – can be bought from the Asian Supermarket but if you don’t have them, don’t worry)
6 Chestnuts (I use 1 can of whole water chestnuts again, if you don't have don't stress)
1 knob of Ginger
Salt & Pepper
Method
Remove organs, and clean.
Stuff the chicken cavity with the rice and 10 cloves of Garlic. Sew the body cavity shut.
Put the stuffed chicken in a pot. Add the Jujubes (if you have them), chestnuts, remaining garlic cloves, ginger. Add 2-3 cups of water.
Bring to a rolling boil. Let it boil for 5-10mins and skim off any foam that gathers. Turn heat to minimum and cover the pot. Let this cook away for 20mins then reduce heat and let simmer for 1 hour (I usually simmer for 2 hours).
Add salt and white pepper and sliced green onion (if you want) just before serving.
Note
To serve place salt and white pepper (equal parts) in a small side dish and use to dip chicken into. Eat with chopsticks and a spoon pulling the chicken out, dipping in salt/pepper and eat the soup with the rice. Also, for a more medicinal use add a ginseng root which you can usually get at the Asian Supermarket. Again, if this isn't something I have readily available I make it without and it's just as good.

75 Likes, 18 Comments - Susan Sohn (@susanjsohn) on Instagram: "When cold and flu hit #CasaDeSohn the only remedy is Ginseng Chicken Soup. #Korean #Whasian"
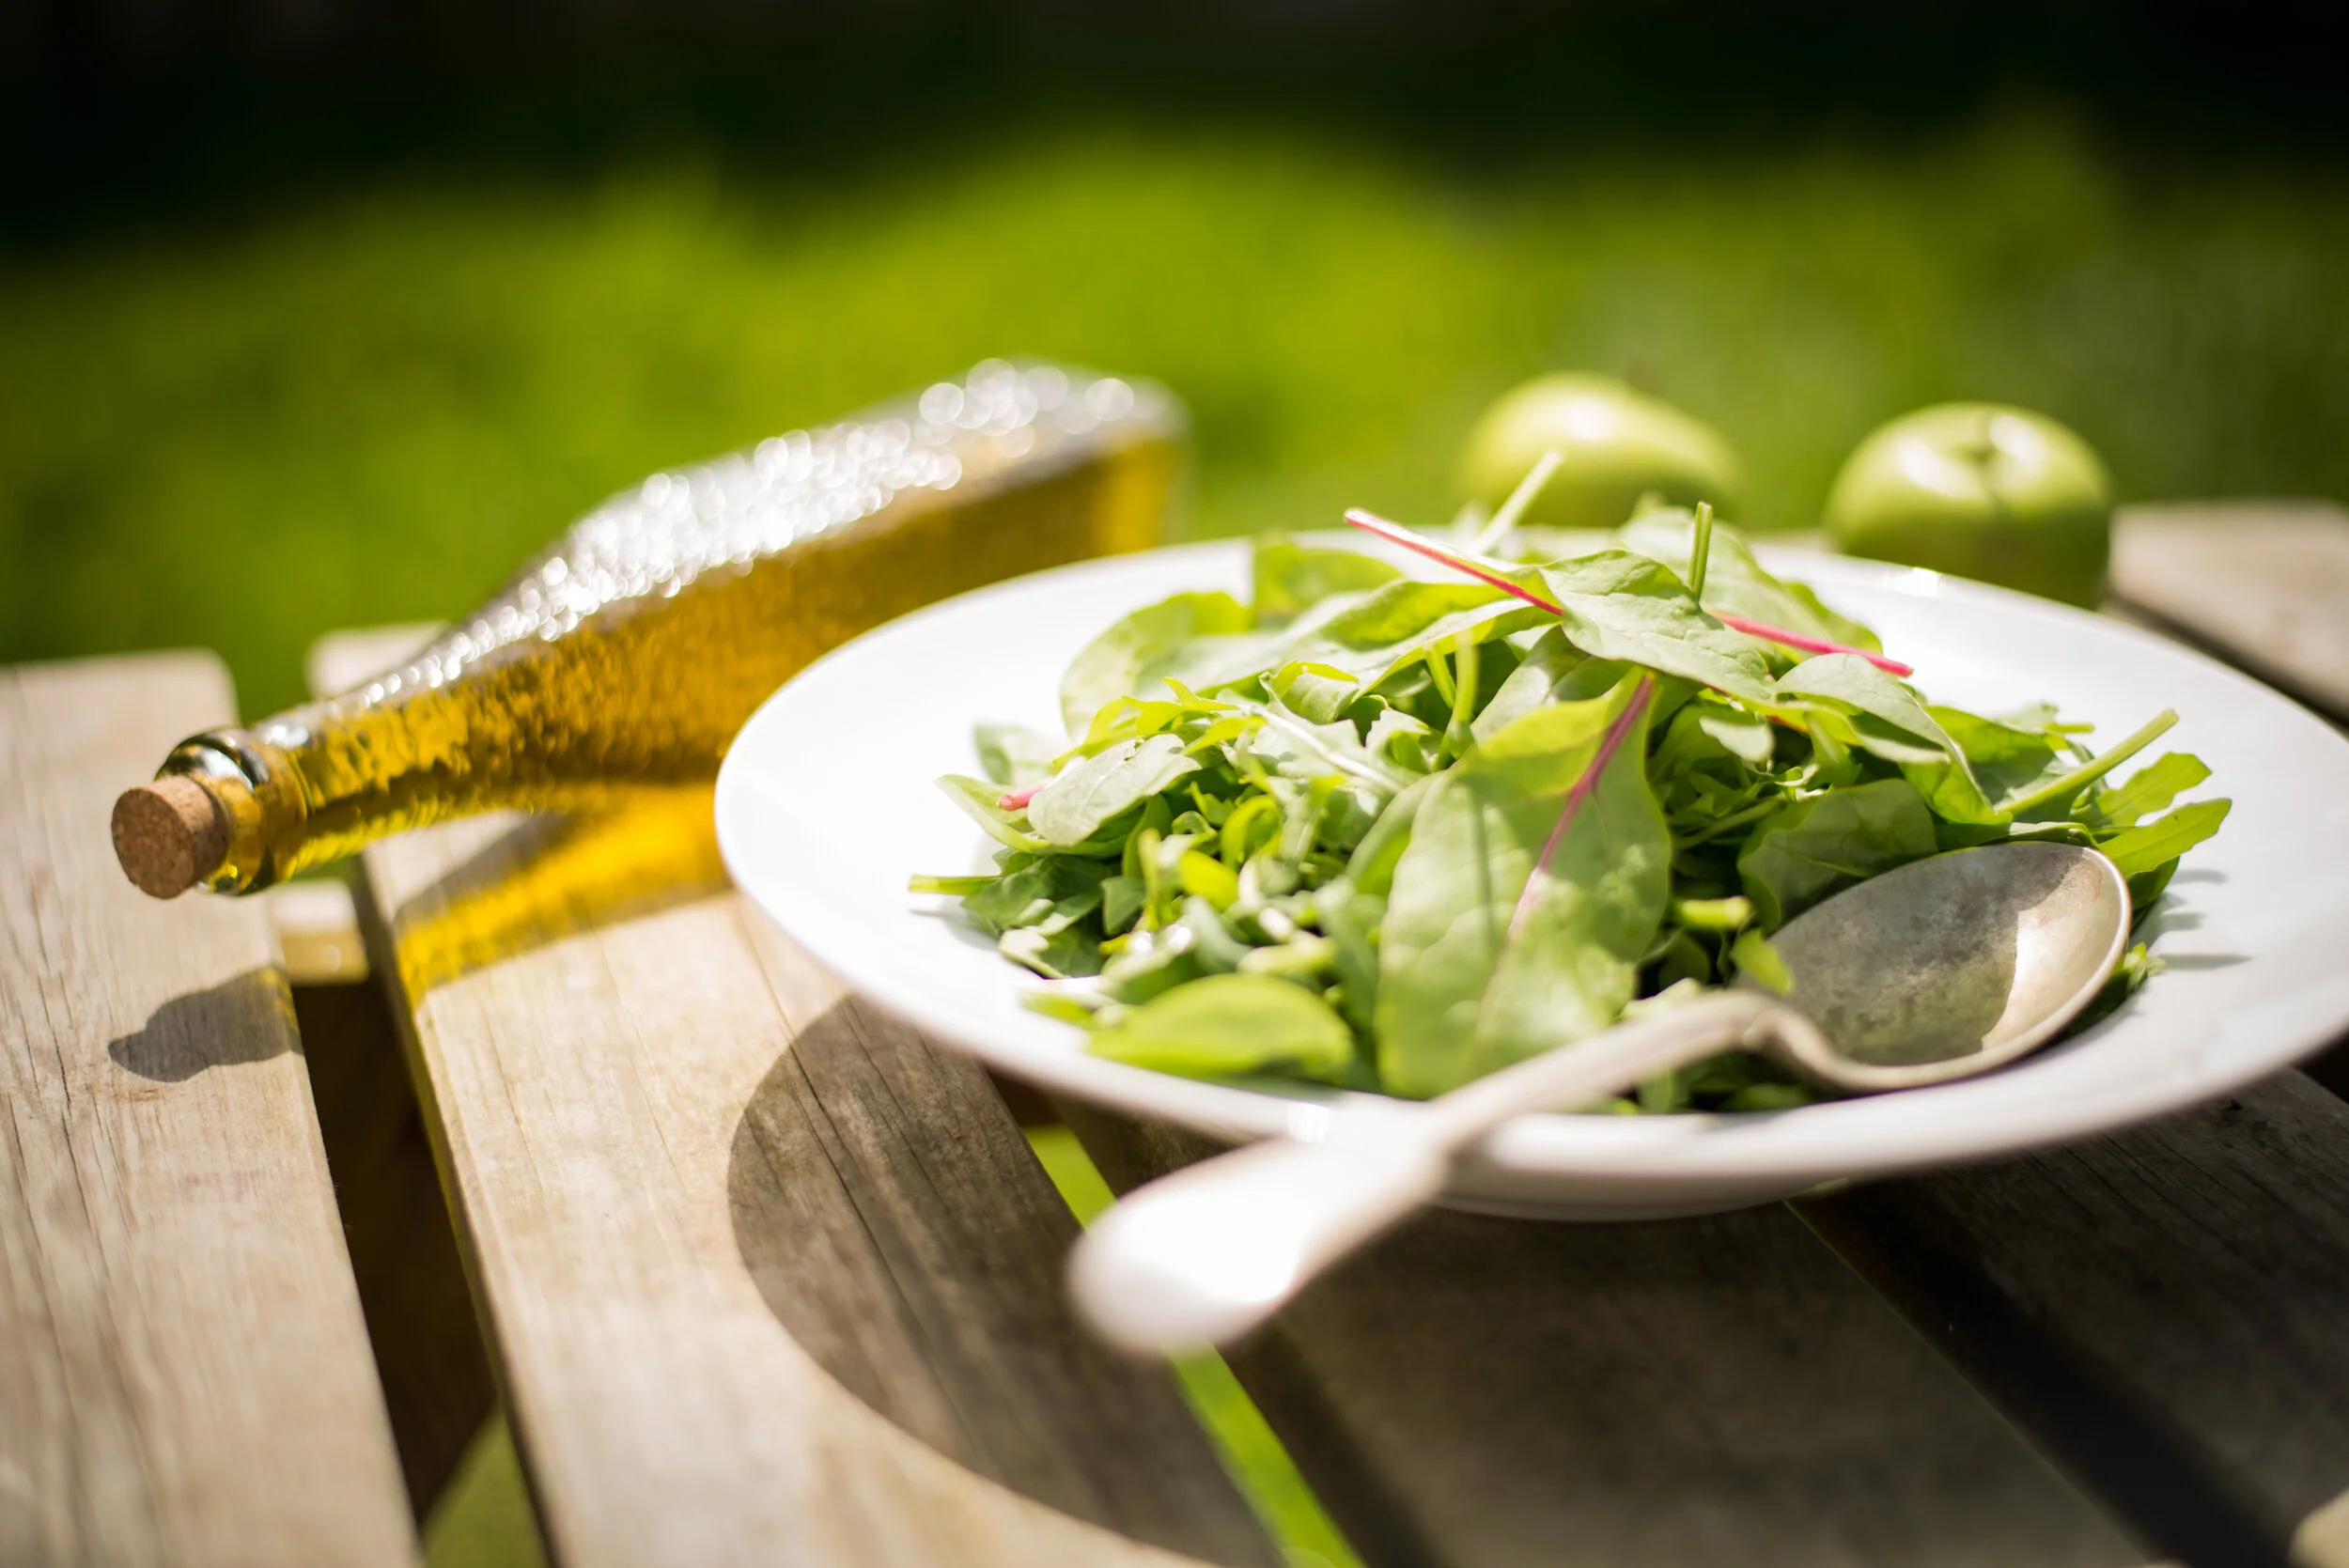
The Best Brussel Sprouts Recipe
Well, friends, this is probably the second most requested recipe on our site. Additionally, it’s one that friends and family have enjoyed whilst dining at #casadesohn on many occasions. Just last night I had another Facebook request for this delish dish. My friend Clare, who is the mother of three beautiful children (aged 3-10) made the request this time.
Plus, we had them for dinner... they accompany any roast dinner with easy. I laughed (last night) as we were eating because my eldest had a girlfriend over for dinner. Whilst eating, I encouraged her to 'try' the sprouts. She turned up her nose and shook her head 'no'. I suggested she try just 1 and she obliged. I saw a little smile as she quickly realised how good these actually were. As dinner continued, I noticed that the bowl of Sprouts had found a home in front of her plate and YES, she continued to eat them... They are seriously that good!
Interesting that this recipe, being Brussel Sprouts, is one that friends and family love. Brussel Sprouts is a vegetable that usually requires years of tastebuds maturing and developing, yet this recipe is loved by both young and old. My youngest, who is now 6, started requesting this recipe on a regular basis after it first hit our table about 2 years ago. Cooked in this manner, the once bitter and shunned Brussel Sprout has become a family favourite and as I mentioned, one that is gobbled up and requested by many a guest.
I no longer hesitate to prepare or share Brussel Sprouts, rather I head straight for them in the supermarket and buy up big, especially around Thanks Giving, Christmas and Easter. I also buy when my kids and husband or guests request which is usually on a bi-monthly basis. So, thanks to my lovely friend, Andre Carthen, we can now enjoy this nutritious vegetable with confidence and pleasure. Enjoy friends.
Ingredients
3/4 cup pecans
2 pounds Brussels sprouts, trimmed and halved
2 shallots
Salt and freshly ground black pepper
3 tablespoons butter
1/3 cup chicken broth
Method
In a medium non-stick skillet/frypan over medium-low heat, cook pecans, tossing often, until lightly toasted and fragrant, 5 to 7 minutes. Set aside to cool. Break up pecans with fingers.
Cook Brussels in 6-8 quart pot of boiling salted water, uncovered, just until tender, (5-7 minutes). Drain in a colander.
In the pan, you cooked sprouts in or in a large deep skillet, melt butter over medium heat. Add shallots, cook for 2 minutes. Add Brussels sprouts and chicken broth.
Season to taste with salt and pepper. Toss to mix. Cover and cook, stirring often, until heated through and flavours have blended about 5 minutes.
Sprinkle with pecans and serve.
The Best Lasagne
Over the past few weeks, I have made meals for a few friends who have either been under the weather or just on the run and crazy busy. I find Lasagne an easy meal to make for friends for a number of reasons:
1. Most kids like Lasagne
2. It’s an easy meal to transport
3. You can jazz it up by adding spinach, grated carrots and other ‘hidden’ veggies
4. Couple it with a salad, some garlic bread and the meal is ready to go.
For whatever reason, our famous Sohn Lasagne is something people seem to love. The recipe has been requested time after time so tonight I finally found a moment to pull it all together. This recipe is familyroom tried and true, it has passed even the toughest of palates so relax and know that it won’t disappoint.
~ Oven Temperature: 375 | Cooking Time: 1 hour | Pan Size: 9x13 inch ~
This recipe freezes well. If you slice it up and put it in zip lock bags it works really well for kids’ lunches {if microwave is available}. I take it out of the bag in the morning, place it in a glass container, pop it in their lunch bags. The Lasagne coupled with a piece of fruit a veggie and maybe a cookie and your child has a perfect, very filling hot lunch.
Serves 12-14
Ingredients
Meat Sauce
2lbs ground beef
4 cloves of chopped garlic
½-1 tsp oregano
1 Tbsp salt
2-15oz cans diced tomatoes
2-6oz cans tomato paste
1 cup chopped onions
OR If you’re pressed for time, you can cheat and buy a store prepared sauce. If you do this, I would buy the roasted garlic meat sauce and as natural as possible.
Cottage Cheese Mixture
3 cups dry cottage cheese {if you can’t find dry put your wet cottage cheese in a strainer and let it drain}
3 beaten eggs
2 tsp salt {you can leave this out if you want. I usually do}
½ tsp pepper
2 Tbsp parsley flakes or preferably fresh parsley chopped
½ cup parmesan cheese {the finer the better}
1 bag shredded mozzarella cheese
Method
1. Fry ground beef and drain grease .
2. Add other ingredients and simmer uncovered for 30 minutes.
3. Combine cottage cheese mixture, except mozzarella
4. In a greased baking pan place a layer of noodles + ½ the cottage cheese mixture followed by a layer of mozzarella then the meat mixture {this is where I add my own flavour to the mix…. I add spinach, eggplant, zucchini or whatever you want. Alternatively, you can grate veggies and add them to your meat sauce if you have a ‘picky’ eater. This is an excellent dish to ‘hide’ a lot of goodness. Get creative and make this your own}.
5. Repeat beginning again with the layer of noodles, cottage cheese mixture, mozzarella and finish with the meat mixture and mozzarella and any left-over parmesan to sprinkle.
6. Bake. Recommended baking time is 1 hour however I usually take it out after 50 minutes. The last 10 minutes seems to brown it up just a little too much. This is best cooked ahead of time and then reheated. For some reason, it holds together better that way.

Split Pea and Ham Soup
Surprisingly this is a family favourite. I know, I can hardly believe it. My kids love it, my hubby devours it and…get this, we’ve had kids over just hanging out and I’ve served it and they LOVE IT. Crazy as it is, this green number serves as a crowd-pleaser, it's budget-friendly and is a huge tummy filler. Plus... as an added bonus, it pretty much cooks itself.
Ingredients
2 Tbsp Olive Oil
2 Chopped Brown Onions
Left over Ham ~ whatever you can salvage. I usually try and get as close to 2 cups as possible and I cube it small {the size of your ring fingernail ~ how’s that for sharing a family recipe. Couldn’t think of any other way to give the size
500 grams or 1 bag of split peas
8 cups of water
2 tsp Chicken Stock {I prefer the powdered but if you’re going to use liquid substitute one of the cups of water with stock}
1 tsp of dried thyme {if you have, if not don’t worry, not necessary}
Method
Saute your onions in Olive Oil.
Add Ham.
Add Peas.
Pour water over.
Add stock {in whatever form} and that’s it.
Let it cook away, stirring every once in a while. Cook for about 2.5 hours.
Your house will smell divine and you will have enough for 6 healthy servings. Serve with a crusty, whole wheat seed roll and you have a meal that everyone will enjoy.
Note: you can add carrots and celery to the mix if you want. I do most times however when cooking it the other day I was out so didn’t bother. Yumm-o.
Winter Beef Stew
Needing a little something to take the winter chill away and to please any palate? Allow us to introduce our winter stew. Yes, it has been a crowd-pleaser for both young and old (oh and Bentley, our dog, loves the leftovers). This stew is beyond easy and it is very more(ish) so relax and let the dish speak for itself whilst allowing you to show off your culinary skills.
Ingredients
2 kg Beef Cubes – I use Chuck or Casserole or even better go to your butcher and get the already cut pieces – tell the butcher you’re making a stew and they will sort you out! Now, depending on how many you are cooking for will determine how much you need. I usually make for 8 so I would suggest at least 2 kilos.
Beef Stock – 4 cups/1 litre
Onions – have fun with your onions. Use 1 brown (chopped) and then add either pearl or shallots whole to increase the flavour. Throw in at least 3-4.
Garlic – It’s winter so be generous. Chase the flu bugs away with this perfect bulb. Smash and chop 2-3 and then add 3 whole cloves
Potatoes – Wash and quarter. I like using white potatoes but I’m not precious. I also like my potatoes to look like potatoes so I choose not to chop them to small
Carrots – 4
Celery – 2-3 stalks (preferably with leaves)
Frozen Corn & Peas
Flour + Dry Mustard (if you have) + Worcestershire + Coconut Oil + A splash of Red Wine + Salt & Pepper to taste
Method
Chop your brown onion & garlic and sauté in 1-2 tbsps of Coconut Oil.
Add your cubed beef and brown on high heat.
Sprinkle with salt and pepper. You want your meat & onions to absorb the salt.
Once the beef is browned and the onions are softened add 3 tbsps of flour to coat your beef plus 1-2 tsp of dry mustard (if you have).
This will turn the beef and onions rather grainy and a quite dry. You will wonder if you’ve made a mistake, don’t worry, this is exactly how we want it.
Now add your beef stock (all of it). Stir and make sure you get anything that was stuck to the bottom of the pan off. You want this flavour to invade.
Once you have this to a rolling boil add your potatoes and allow these ingredients some ‘getting acquainted’ time.
Cover and let them simmer away for approx 20mins.
Now add your carrots (I like mine roughly chopped giving enough to dig a fork into) your additional pearl or shallots, celery and corn.
You can also add your Worcestershire Sauce and a splash of red wine with a sip for yourself if it’s beyond 5 pm.
Stir and make sure nothing is sticking to the base of the pan. Have a taste and if you need to add more Salt & Pepper please do so. Cover and let it simmer away making sure all your veggies are cooking and your meat is becoming more tender by the minute.
In the last 10minutes of cooking, I suggest you add your frozen peas. I don’t like to add these too early as they can get mushy and it’s just a preference of mine that I choose to wait on. In saying that, adding them earlier if it’s easier for you is totally fine.
If your stew has not thickened during the cooking process to your liking then, by all means, add some more flour. Do this little by little as you don’t want it to thicken too much on you. Keep tasting and making sure the flavours are pleasing your palate. Always remember that each bite builds on the latter.
Additionally, when cooking stovetop I let my meat tell me when it’s done. This stew can be rushed and cooked in 1 hour or it can be brought along throughout the day lending itself to beautiful tender pieces that will melt in your mouth. It is a recipe that adapts well to your schedule.
Recipe Adaptations
Use lamb if you’d like
Add pumpkin or other veggies that you love
Use the slow cooker but make sure you brown your meat in a pan first as the slow cooker won’t do that for you
Use a pressure cooker
Swap the beef for chicken and the broth for chicken broth and add mushrooms
The Best Guacamole Recipe
This recipe comes from my brother, Robert, who is an incredible cook.
He makes this for every family gathering and it’s a dish that everyone loves and always wants more of. It is always gobbled up quickly and everyone knows it’s a ‘first in, best dressed’ situation when it hits the table. This recipe serves four, however, based on experience, both my brother and I would suggest you double or even triple the batch when entertaining. Trust us, it’s so good, there won’t be any left. Also, I suggest you use a mortar and pestle to grind everything together. This way, you get even more flavour allowing each ingredient to invade the other yet complement with its simplicity.
Enjoy friends. Let me know if you make it and how your family and friends enjoyed.
Ingredients
2 tbsp. finely chopped white onion
3 firmly packed tbsp. chopped fresh cilantro/coriander
2 tsp. finely chopped jalapeño
1 tsp. salt
3 medium-ripe hass avocados
3 tbsp. diced tomato
Squeeze of lemon to bring all the flavours together
Method
Grind 1 tbsp. of the onions, 1 tbsp. of the cilantro, jalapeño, and salt together in a mortar and pestle until all the ingredients are well ground. (If you don’t have a mortar and pestle then simply use a fork to mash the ingredients to a paste in a wide bowl.)
Cut avocados (about 8 ounces each) in half. Twist the halves to separate them and remove the pit with the tip of the knife. Place an avocado half, cut side up, in your palm and make 3 or 4 evenly spaced lengthwise cuts through its flesh down to the skin, without cutting through the skin. Make 4 crosswise cuts in the same fashion.
Scoop the diced avocado flesh into the mortar. Repeat with remaining avocado halves. Gently fold the avocado into the chile–onion paste, keeping the avocado pieces fairly intact.
Add tomatoes, remaining 2 tbsp. of the cilantro, and remaining 1 tbsp. of the onions.
Fold together all the ingredients. Taste and add salt, if necessary. Finally, squeeze the lemon over and let the citrus bring all the flavours together.
Serve immediately with tortilla chips.

Susan Sohn shared a post on Instagram: "Nachos from #CasaDeSohn" * Follow their account to see 3,063 posts.
The Best Bruschetta Recipe
Okay friends, time to share more recipes from the #CasaDeSohn table… feel free to follow that hashtag on Instagram to see some of our yummy taste sensations.
With autumn in the Australia, it’s time to pull out some of the soul food that we all love during the colder months. In our house that means soups, stews, curries, scrumptious roast dinners and more! I seriously love this time of year. Autumn/winter food has the ability to gather family and friends to the table in a way that no other season can. Maybe it’s only me but this season has always been one of my favourites.
Today, I want to share a Bruschetta recipe and it’s one that comes from the incredible Julia Child. Some of her recipes like Boeuf Bourguignon and her rich Chocolate & Almond Cake have quickly become favourites in our home. With the Bruschetta, we have adapted the recipe a little and made it our own and it has become one that family and friends enjoy either with dinner or as an addition on our famous massive cheese platters (an article with pictures & suggestions for the best board and selection coming your way soon!) So, here you go… Bruschetta the Julia Child Way with our own #CasadeSohn Twist. Enjoy!

500 Likes, 9 Comments - Susan Sohn (@susanjsohn) on Instagram: "It's Autumn and that means new seasonal food. Tonight at #CasaDeSohn we had the most amazing..."
Ingredients
1 loaf of quality rustic bread, sliced into one-inch slices
6 cloves garlic sliced (4 sliced and 2 finely chopped)
1 Tablespoon of Butter & 1 Tbsp of Olive Oil to coat your frying pan or as much as you like!
An assortment of ripe tomatoes, cut into smallish chunks (I used ripe Roma tomatoes and small grape yellow, orange, green and red.
Fresh basil leaves, torn or cut into pieces
Olive oil to dress the tomatoes
Salt and Pepper to taste (the amount of salt will determine the level of liquid that comes out of the tomatoes. I like to lightly salt to avoid creating lots of liquid then I salt over at the end once the bruschetta is ready to serve)
Grated Parmesan cheese – optional but strongly suggested
Method
Whack all the ingredients in your food processor including a splash of olive oil, salt and pepper. I like to take the seeds out of the tomatoes – as many as I can. Go heavy on the garlic and don’t be afraid of some not getting chopped totally, trust me, it adds to the experience.
Whiz it all up just until it’s chunky. You don’t want to create a paste. Important to note: The more salt you use, the most juice will be released so go light on the salt.
Let this marinate while you prepare the bread.
Put your bread on a baking tray, drizzle with olive oil (if you have garlic-infused olive oil use that) and bake at 200 (fan-forced) for 5-10 mins. You want it just golden and crunchy. Alternatively, you can use a skillet and melt your butter and olive oil together then add sliced garlic and allow it to slowly soften and infuse into the butter & oil. Make sure you flip the garlic getting both sides soft.Place your bread in the pan and allow it to begin to slowly toast.
Toast both sides, allowing the butter, oil and garlic to infuse. You want your toast a nice golden colour. Remove the bread from the pan.
Note: This is a more time-consuming way but it is really good. I’ve done it both ways and either work well.
Place the toasted bread on a great plate or nice cutting board, pile the tomatoes onto the bread, now add your last sprinkle of salt and be generous with your Parmesan.
Grate it over and be a little ‘messy’ allowing it to fall onto the cutting board which creates a nice look. Now enjoy.
Allow the juice to run down your chin and let your family and guests know that this is a bit messy so not to worry, just savour the flavours.
Granny Kat's Pumpkin Roll
makes 10 servings.
Ingredients
3/4 cup all-purpose flour
1 cup white sugar
1 teaspoon baking soda
2 teaspoons pumpkin pie spice
1 cup pumpkin puree
3 eggs
1 teaspoon lemon juice
2 tablespoons confectioners' sugar
1 (8 ounce) package cream cheese, softened
1/4 cup butter
1 teaspoon vanilla extract
1 cup confectioners' sugar
Method
Preheat oven to 375 degrees F (190 degrees C). Grease and flour a 9x13 inch jelly roll pan or cookie sheet.
In a large bowl, mix together flour, sugar, baking soda, and pumpkin pie spice. Stir in pumpkin puree, eggs, and lemon juice. Pour mixture into prepared pan. Spread the mixture evenly.
Bake at 375 degrees F (190 degrees C) for 15 minutes.
Lay a damp linen towel on the counter, sprinkle it with confectioner's sugar, and turn the cake onto the towel. Carefully roll the towel up (lengthwise) with the cake in it. Place the cake-in-towel on a cooling rack and let it cool for 20 minutes.
Make the icing: In a medium bowl, blend cream cheese, butter, vanilla, and sugar with a wooden spoon or electric mixer.
When the cake has cooled 20 minutes, unroll it and spread icing onto it. Immediately re-roll (not in the towel this time) and wrap it with plastic wrap. Keep the cake refrigerated or freeze it for up to 2 weeks in aluminium foil. Cut the cake in slices just before serving.
Raw Lemon Balls
The whole Raw Food thing is something that has really interested me but as a cook, something that I have found (strangely) daunting and something that I have hesitated moving towards. I understand the health benefits, which is what has captivated me, but the concept, the time and the structuring of Raw Food seemed to leave me paralysed.
Thankfully, I have an extraordinary woman in my world, her name is Jenny Taylor, and Jenny is my ‘go-to girl’ when it comes to all things health and wellness. I have heard stories about how food has changed her life and the lives of her family. Over the past 2 years, I have watched her post different things that have caused me to salivate. However, it has taken me ages to climb over this Raw mountain and engage. I have to tell you, I am shocked and amazed at the ease of my creations and the outcome. My experienced palate has not been disappointed.
Today, you can see from my Instagram that my day started with a Green Smoothie (yes a new venture for me) and this afternoon I made Raw Lemon Balls in under 10 minutes. Now, keep in mind, I don’t have any fancy machines, rather I have a stick blender and a bowl. My kitchen is ‘very real’ and I make what I have work for me so don’t dismay if you are at a loss for anything. I believe that in the kitchen, ‘where there is a will, there is always a way’!
Important to note: These Raw Lemon Balls have been given the #CasadeSohn ‘tick of approval’ which simply means – the kids like them. I hope you enjoy as much as we have. They are the perfect afternoon treat with a cup of tea!
Ingredients
11/2 cups shredded coconut
11/2 cups cashews (or sunnies for a nut-free version)
1/3 cup honey (or rice malt syrup)
Juice and zest of one lemon
A few tabs coconut oil
Pinch of salt
Method
Put everything in a bowl and whizz away.
Use a tablespoon and scoop up and roll into a ball (Note: I suggest a sizing them like a large marble or a gumball, they are filling and sometimes less is more).
Reserve a little coconut (or use more) to roll the balls in as a finishing touch.

659 Likes, 15 Comments - Susan Sohn (@susanjsohn) on Instagram: "Raw Lemon Balls. Seriously good and easy to make plus these have received the #casadesohn tried and..."